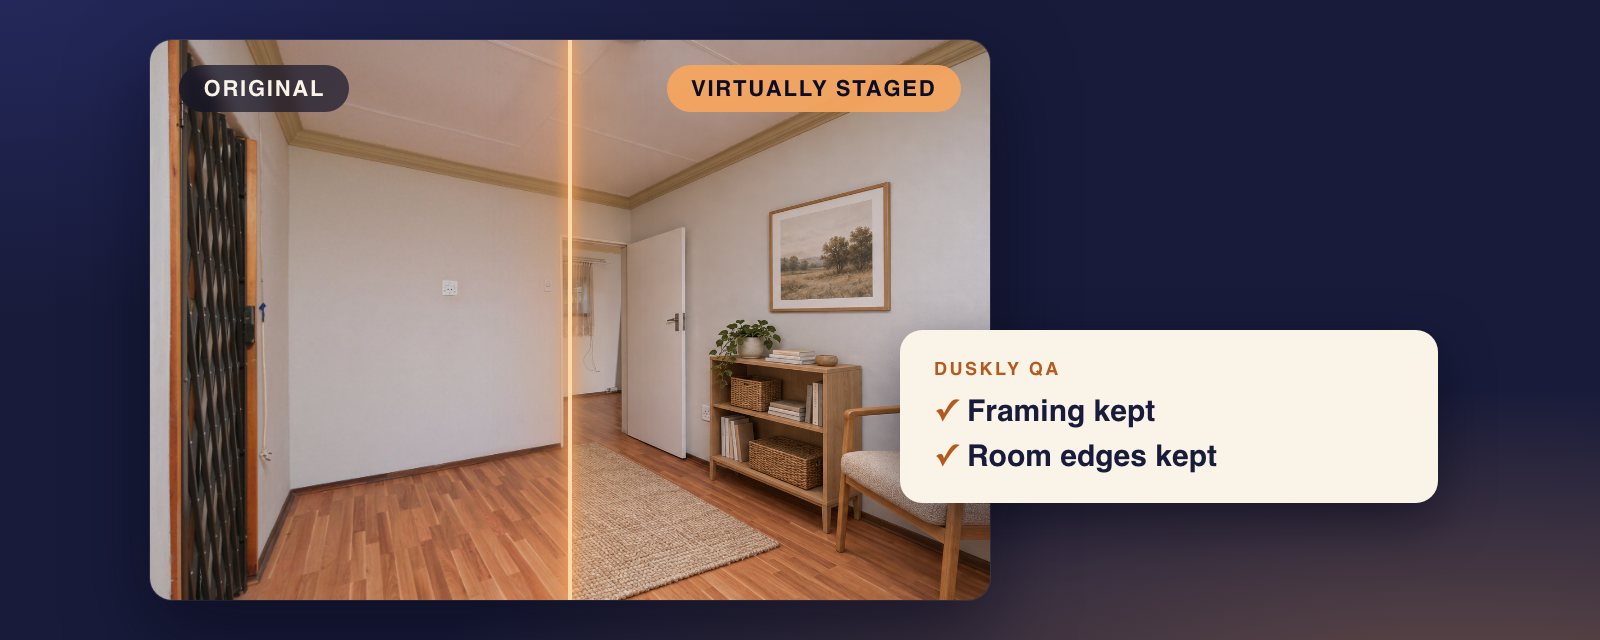
Short answer: start with a sharp, level, well-lit photo of an empty room. Pick a style that suits the room and the buyer, then make several renders and keep the one that changed nothing but the furniture. Check it next to the original, label it, and put the original beside it in the listing. Staging adds furniture. It must not change the room, and where you post it, the original usually has to go with it.
Every staged photo below is a real render from Duskly’s staging pipeline, made from a stock photo and shown next to it. The tips on inputs come from what our lab learned running rooms like these through image models in September 2026, and from the code Duskly runs today.
1. Shoot or pick the photo
The render keeps your photo’s camera, framing and light. Duskly’s staging instruction asks the model to keep the camera position, perspective, framing, exposure and daylight exactly as they are. Any AI staging is only as good as the photo under it, so most of the work happens here.
Empty the room first. Staging is for empty rooms. In our 15 September lab test, we gave a model a furnished room and told it to return the photo unchanged. It replaced the sofa, put a new table over the old one and invented a door. Duskly’s instruction now says to leave a furnished room unchanged, but that test shows an instruction is not a guarantee. If the room has furniture, the best fix is on the day. NWMLS’s photo guide asks sellers to “clear counters of appliances and toiletries, stash wires and cords, and remove personal belongings” (NWMLS, Real Estate Photography 101). If you cannot empty it, remove the furniture with an AI tool first, then stage the empty result. That removal is an edit to disclose too: San Diego MLS lists “Adding or removing furniture, fixtures, or appliances” among digitally altered images (SDMLS AB 723 FAQ, answer 4). Removal is also the harder edit. In our September tests some removals left a cat, changed curtains and debris on the floor.
Show the walls the furniture will stand against. Shoot from a doorway or a corner so the photo shows the ceiling line and two or three walls. Our room briefs put the TV and the bed’s headboard against solid walls, so a photo that is mostly doors and windows leaves the model nowhere good to put things. In our blind review, the small bedroom, with its door close to where the bed had to go, kept going wrong the same two ways: nightstands over the door, or a bed that looked shrunk to fit.
Keep the camera level and at a normal height. Vertical lines should be vertical before you stage, because our instruction tells the model not to straighten anything. Our scale research treats a camera 1.2 to 1.7 m (about 4 to 5½ ft) off the floor as normal, with an 80-inch door as the ruler. Go easy on the wide lens. NWMLS puts it plainly: “Wide-angle lenses can help, but often distort images and can portray an unrealistic sense of size.”
Shoot in the light you want to sell. Our instruction tells the model to leave shaded corners as dark as they are and sun patches where they fall, and that added lamps do not brighten the room. A dim photo makes a dim staged room. NWMLS’s advice for interiors on a grey day: “make sure to turn on lights, open blinds, and bring your own backup lighting if possible.”
Do the normal edits before staging. Exposure, colour, straightening and cropping do not need a disclosure, as long as the room still looks as it really is. San Diego MLS lists “Brightness, exposure, or contrast adjustments”, “Color correction”, “Cropping or resizing” and “Straightening or sharpening” as edits that are not digitally altered (same FAQ, answer 5). Make them on the photo first, so the staged version and the original you publish beside it match.
Size and format. Duskly takes a JPEG or PNG up to 20 MB and 24 megapixels, such as 6000 x 4000. If your phone saves HEIC, export a JPEG. Duskly sends the model a copy no larger than 2048 pixels on its long side and keeps your upload untouched as the original. A bigger file does not give a sharper render: the renders below came back at 1536 x 1024 from photos 2048 pixels wide. Check your MLS’s size limits with the free MLS photo checker.
2. Pick a style for the room and the buyer
Start from the house, then the buyer. The style should suit the architecture and the price bracket, and the room should be staged as what the listing calls it. Fewer pieces usually work better. NWMLS: “Minimal furnishings give a room sense of scale and makes it easier for people to envision their own belongings in a space.”
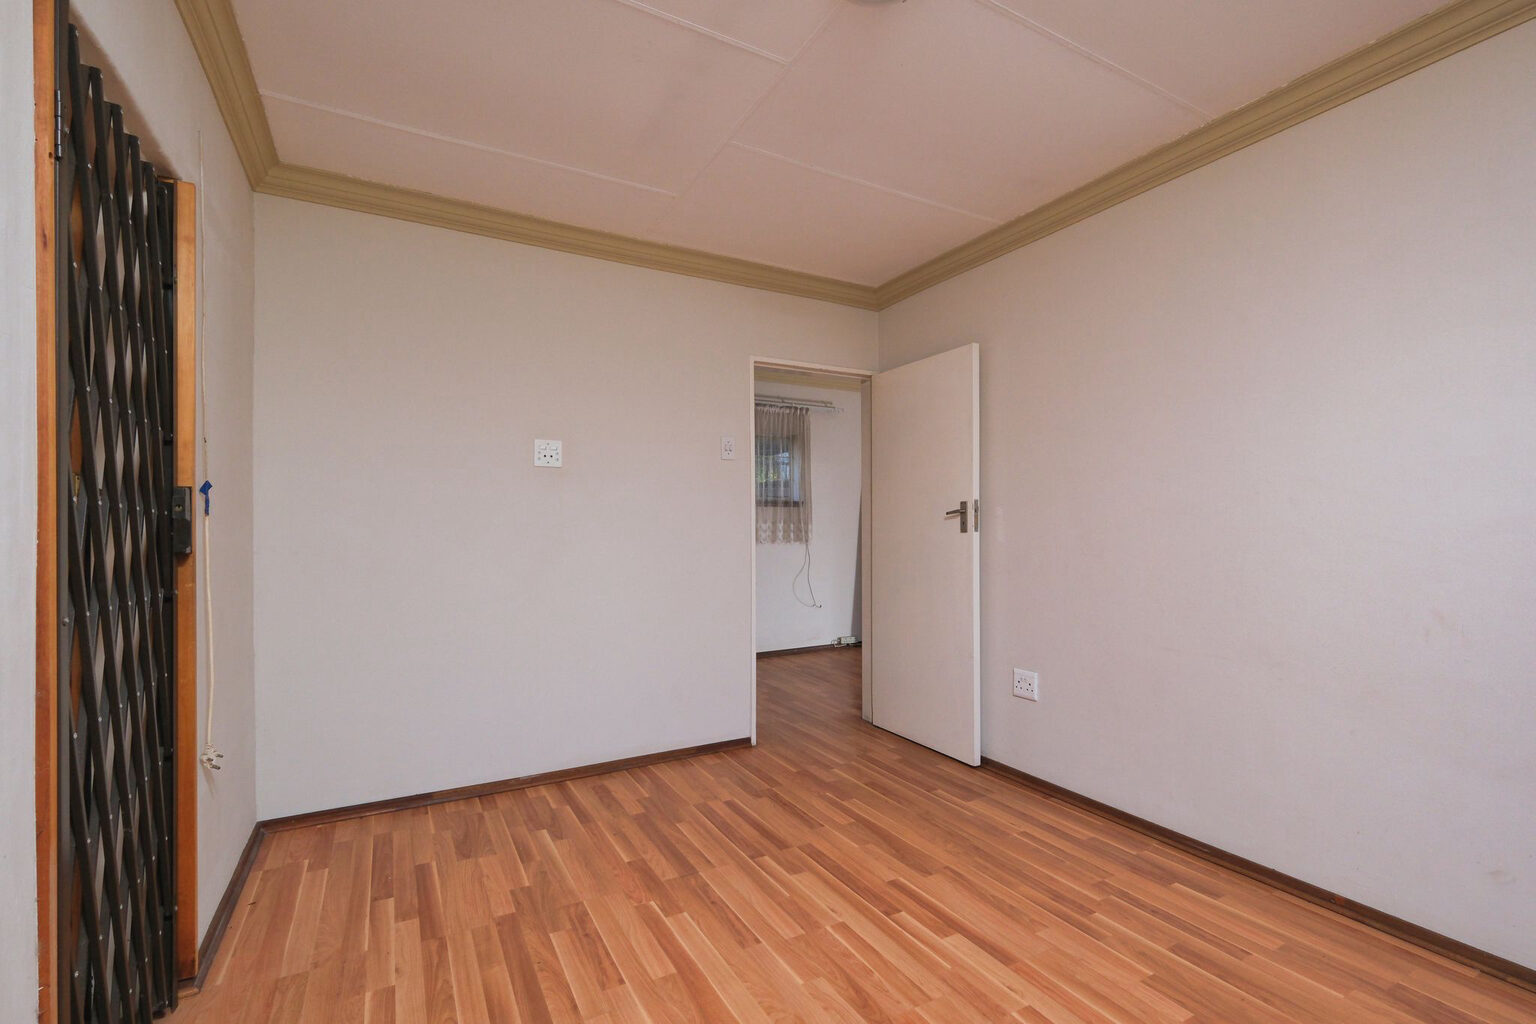
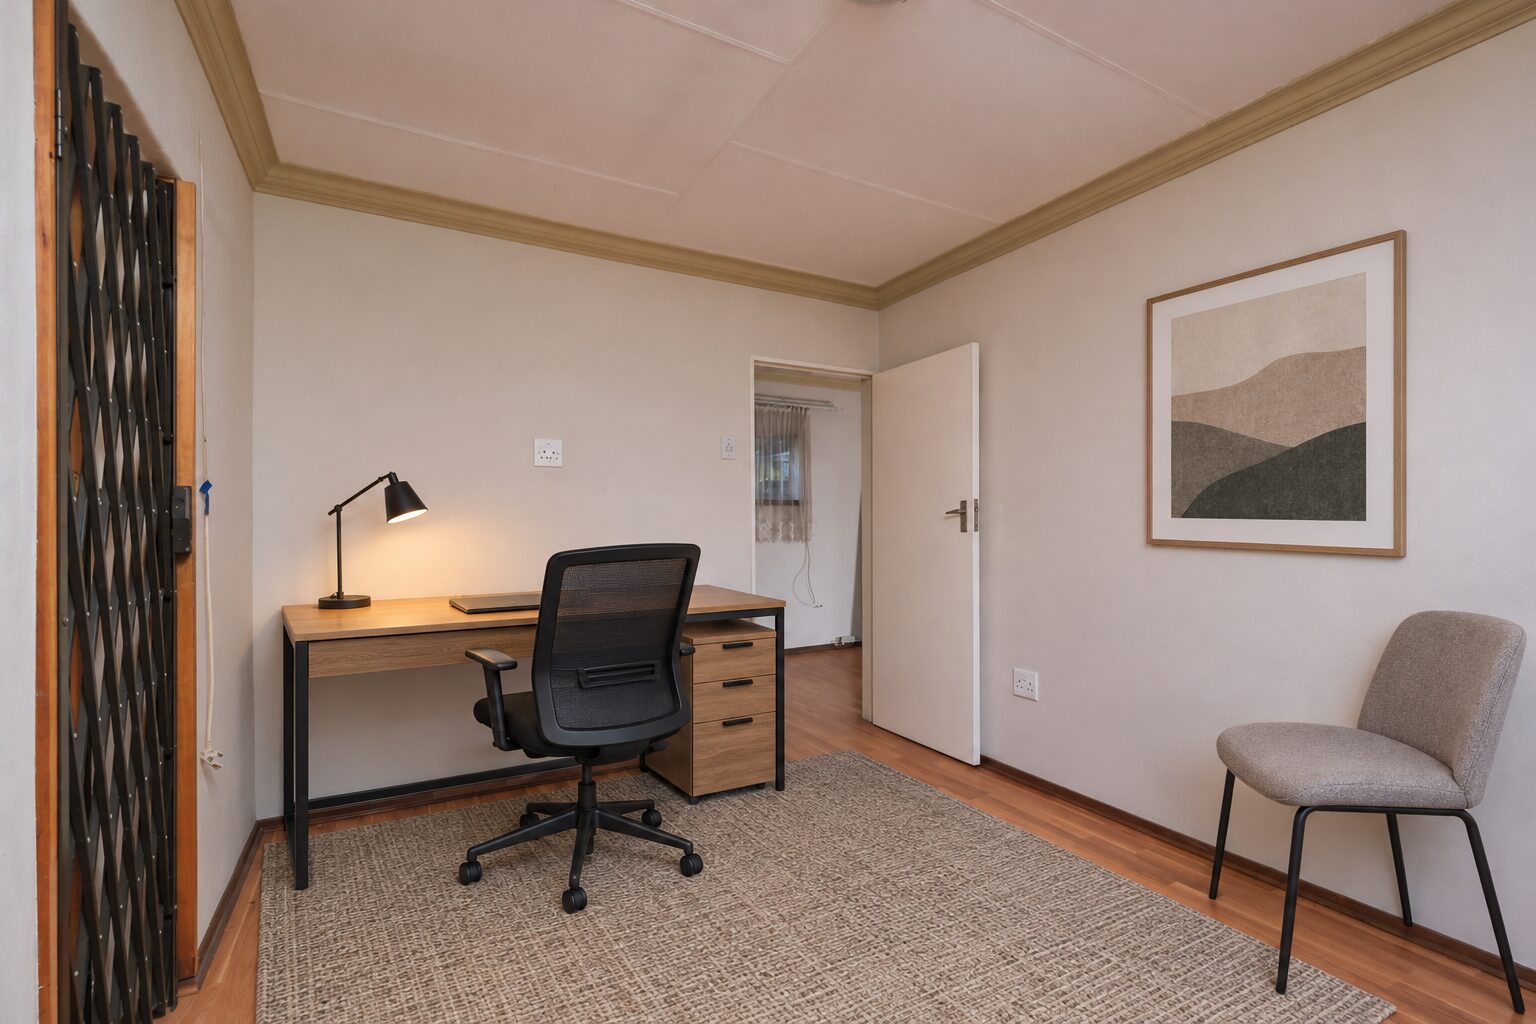
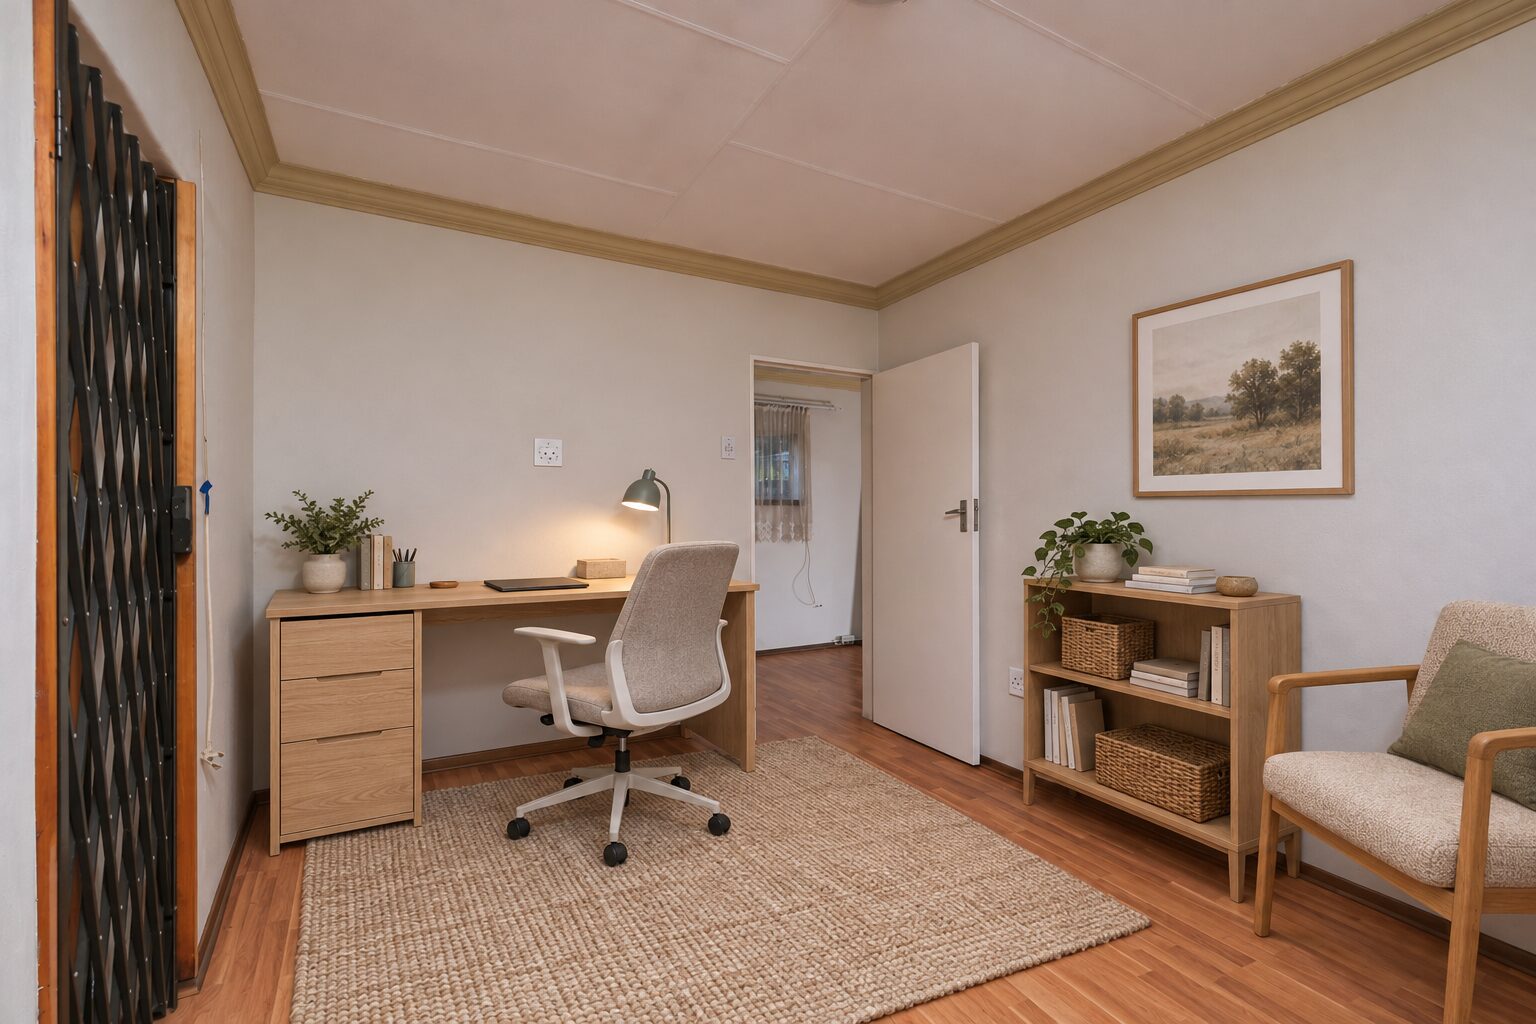
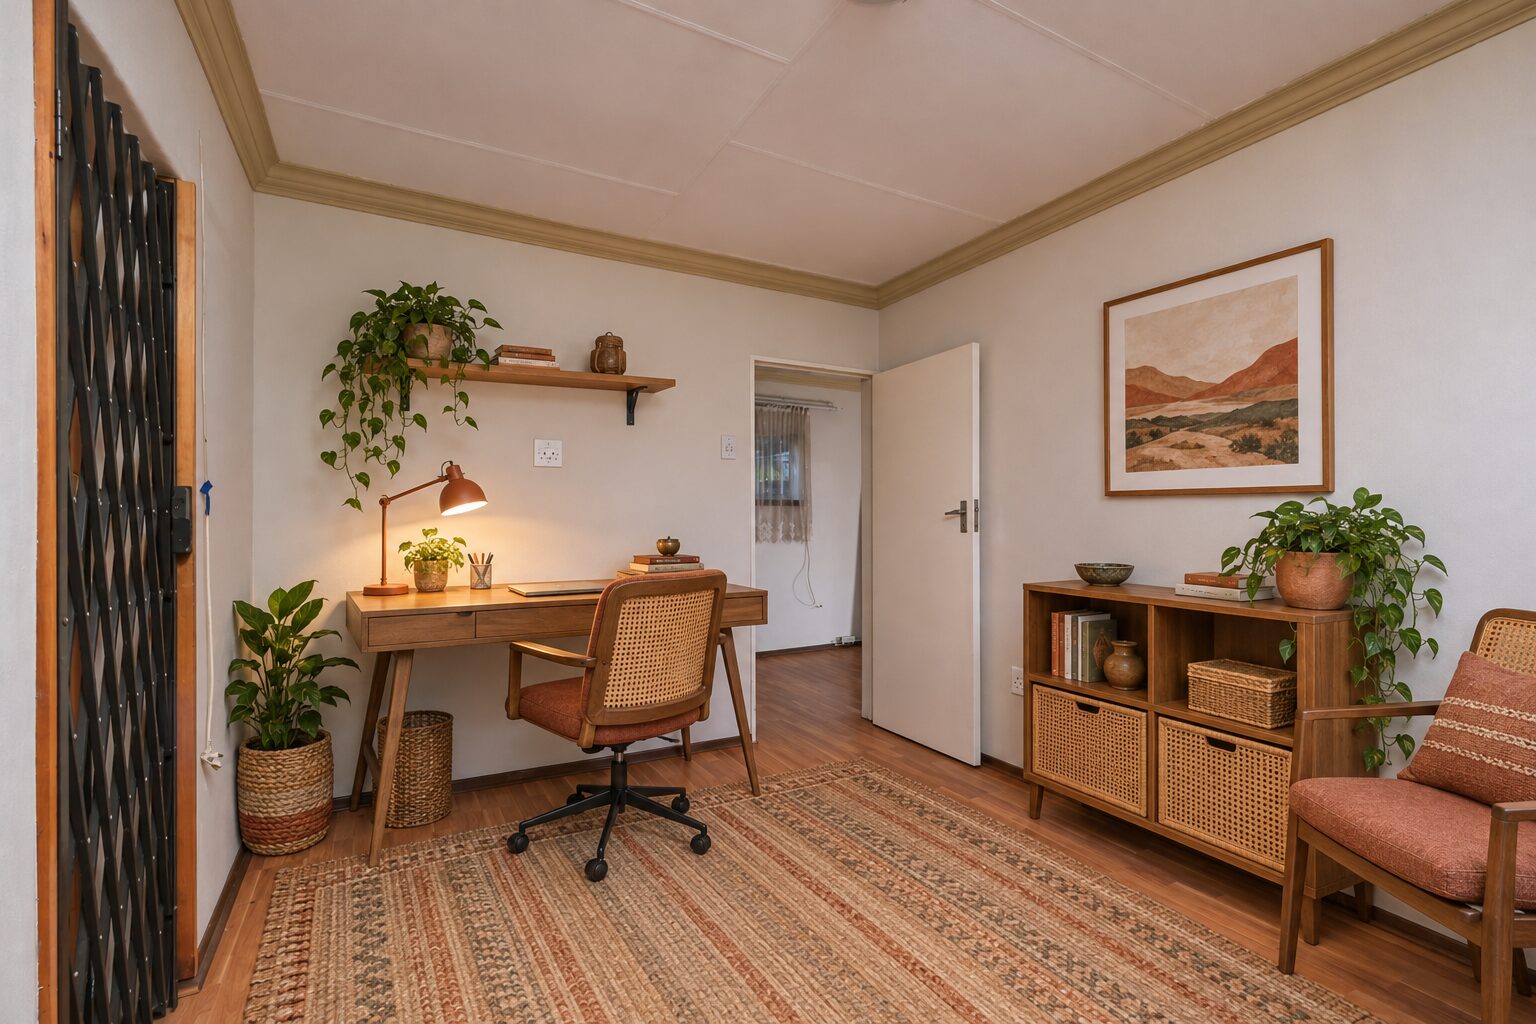
Here is one small, plain room in three of our 12 styles. Our style notes call Minimalist “Good for small rooms”, Scandinavian “a strong fit for smaller rooms”, and Bohemian “useful when a room is architecturally plain and needs character.”
A room with period detail asks for something else. This dining room has wainscoting and a chandelier. Our notes on Traditional: “The right call for period homes and buyers who read minimalism as unfinished.” Glam “suits a hero shot in a higher price bracket”. Coastal is “Obvious for waterfront listings”.
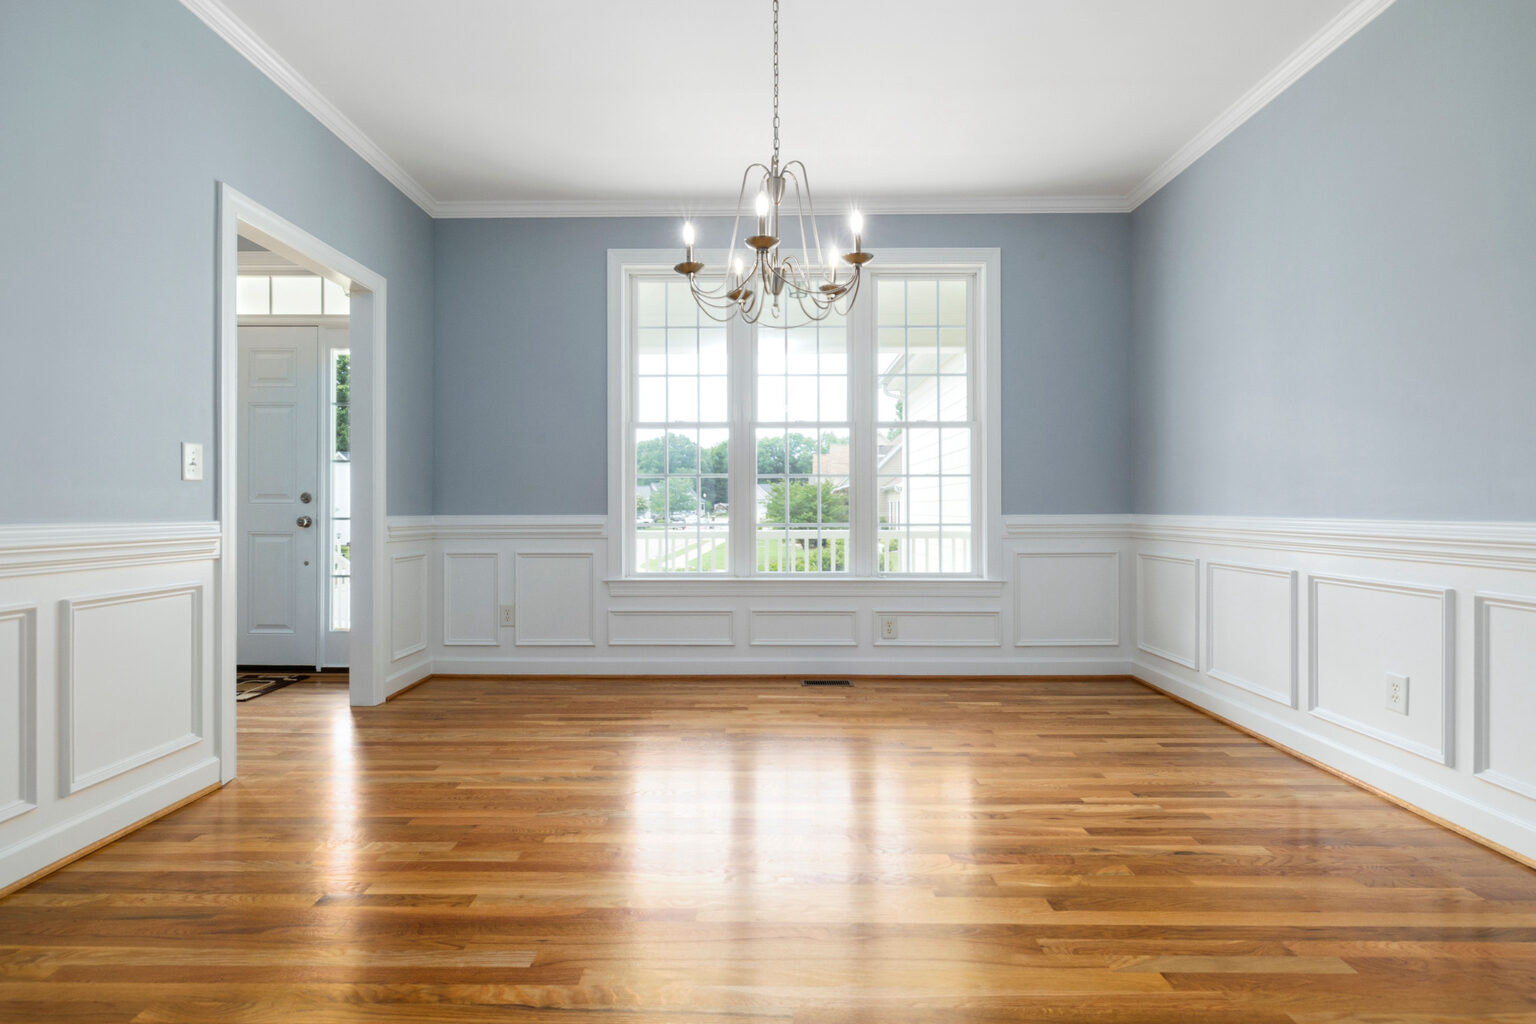
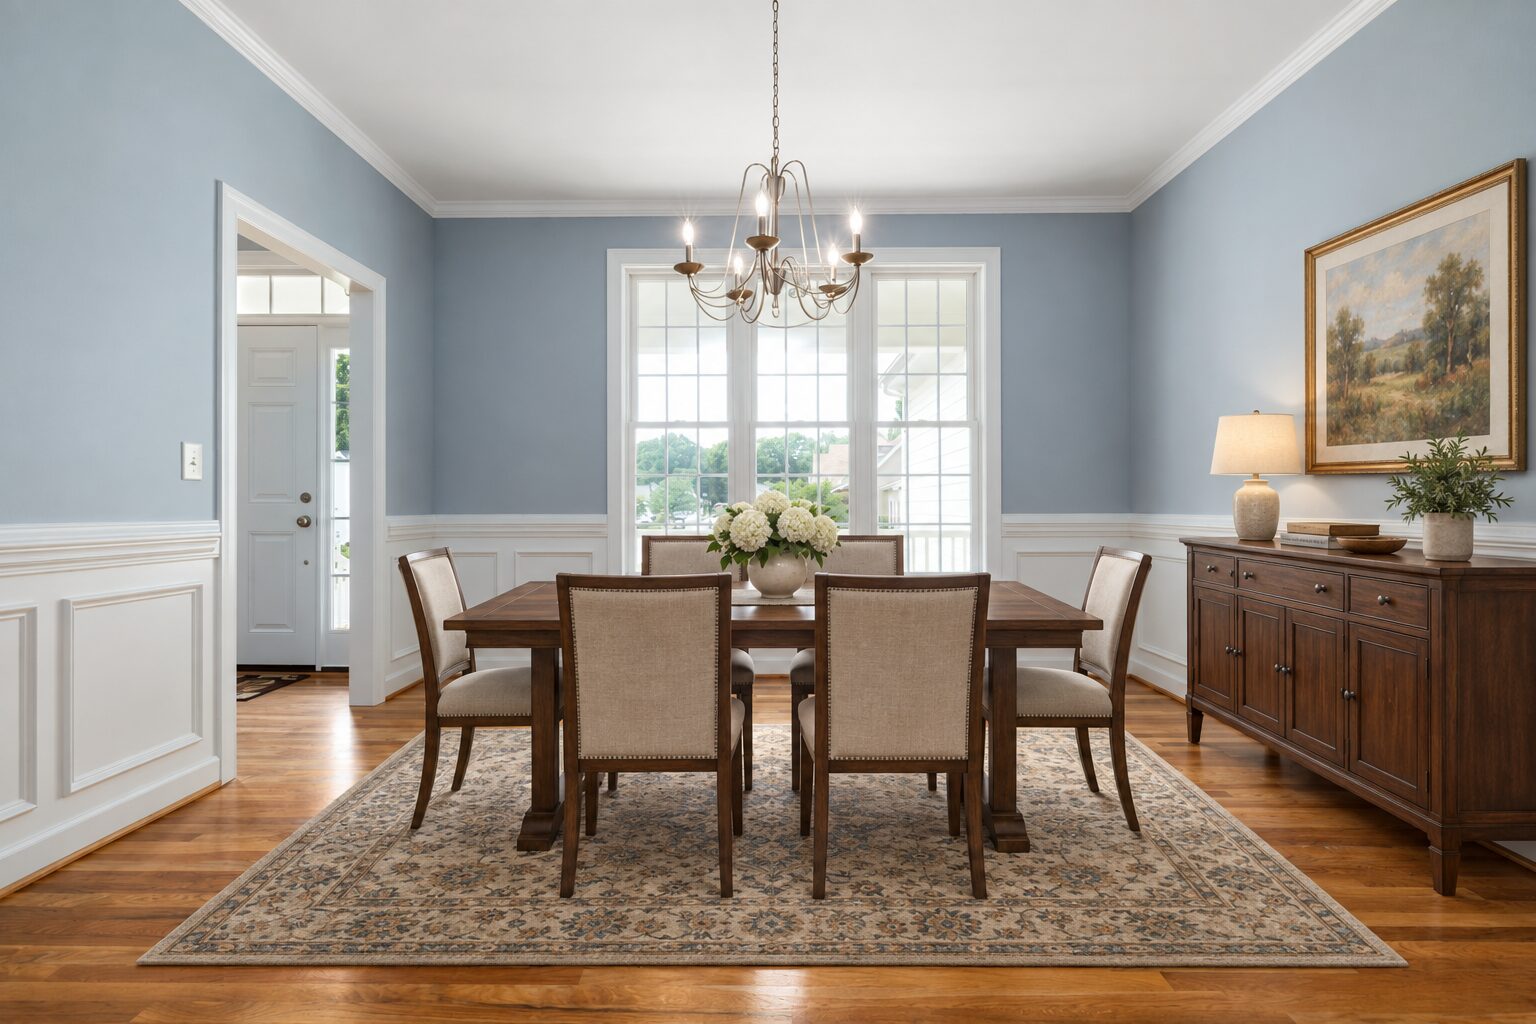
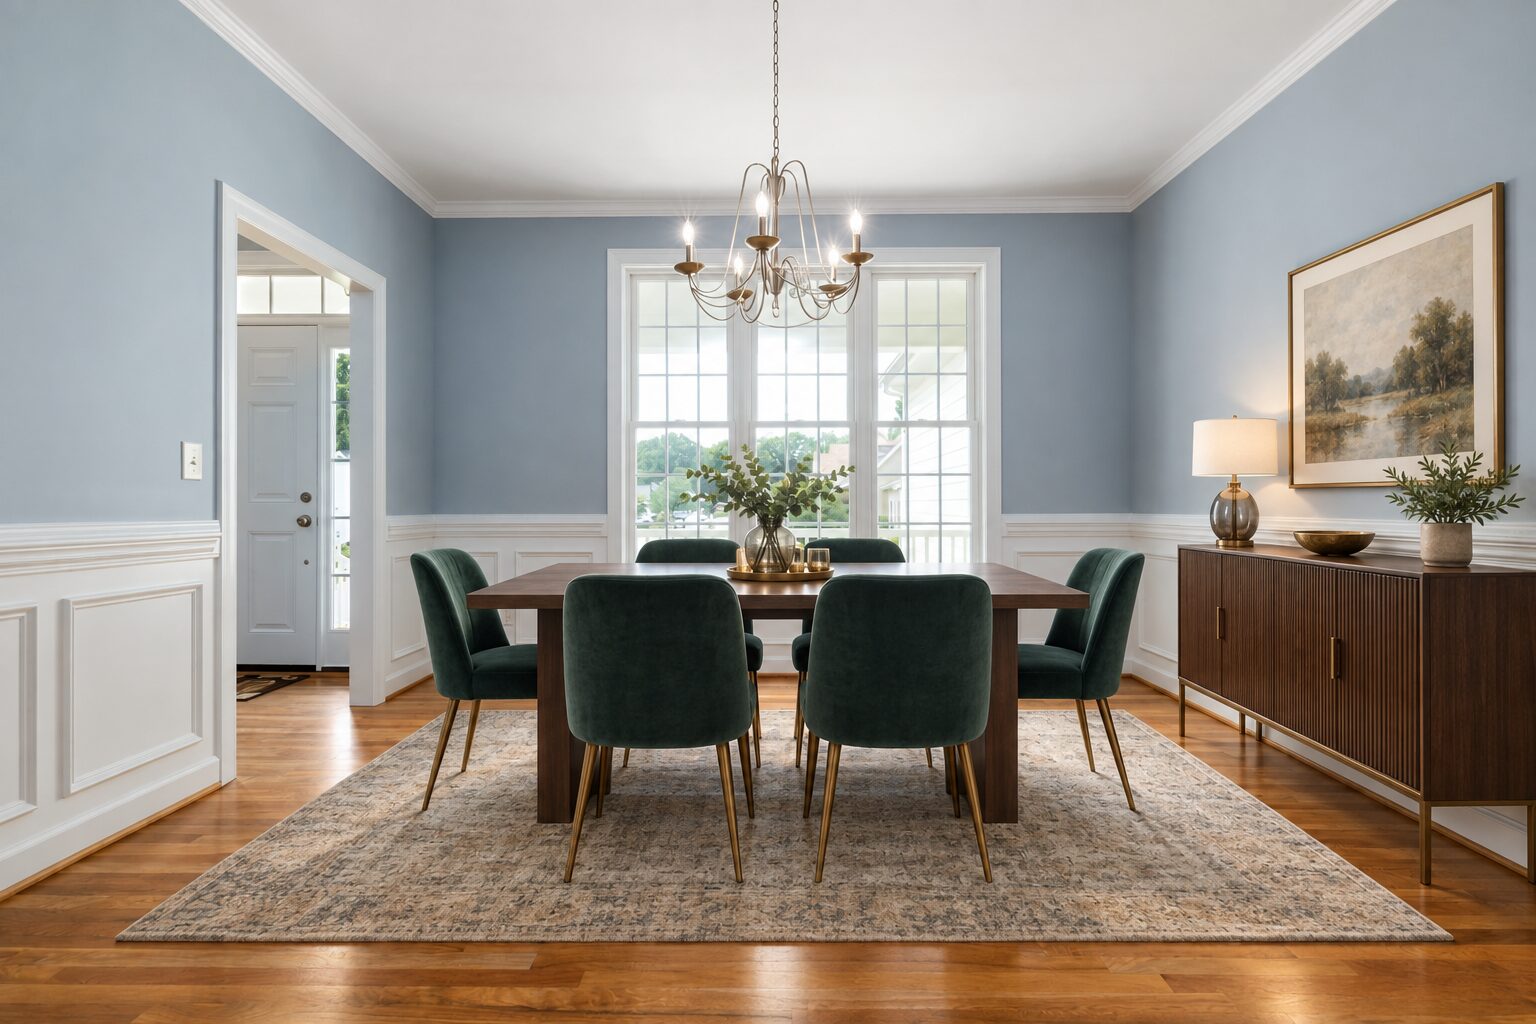
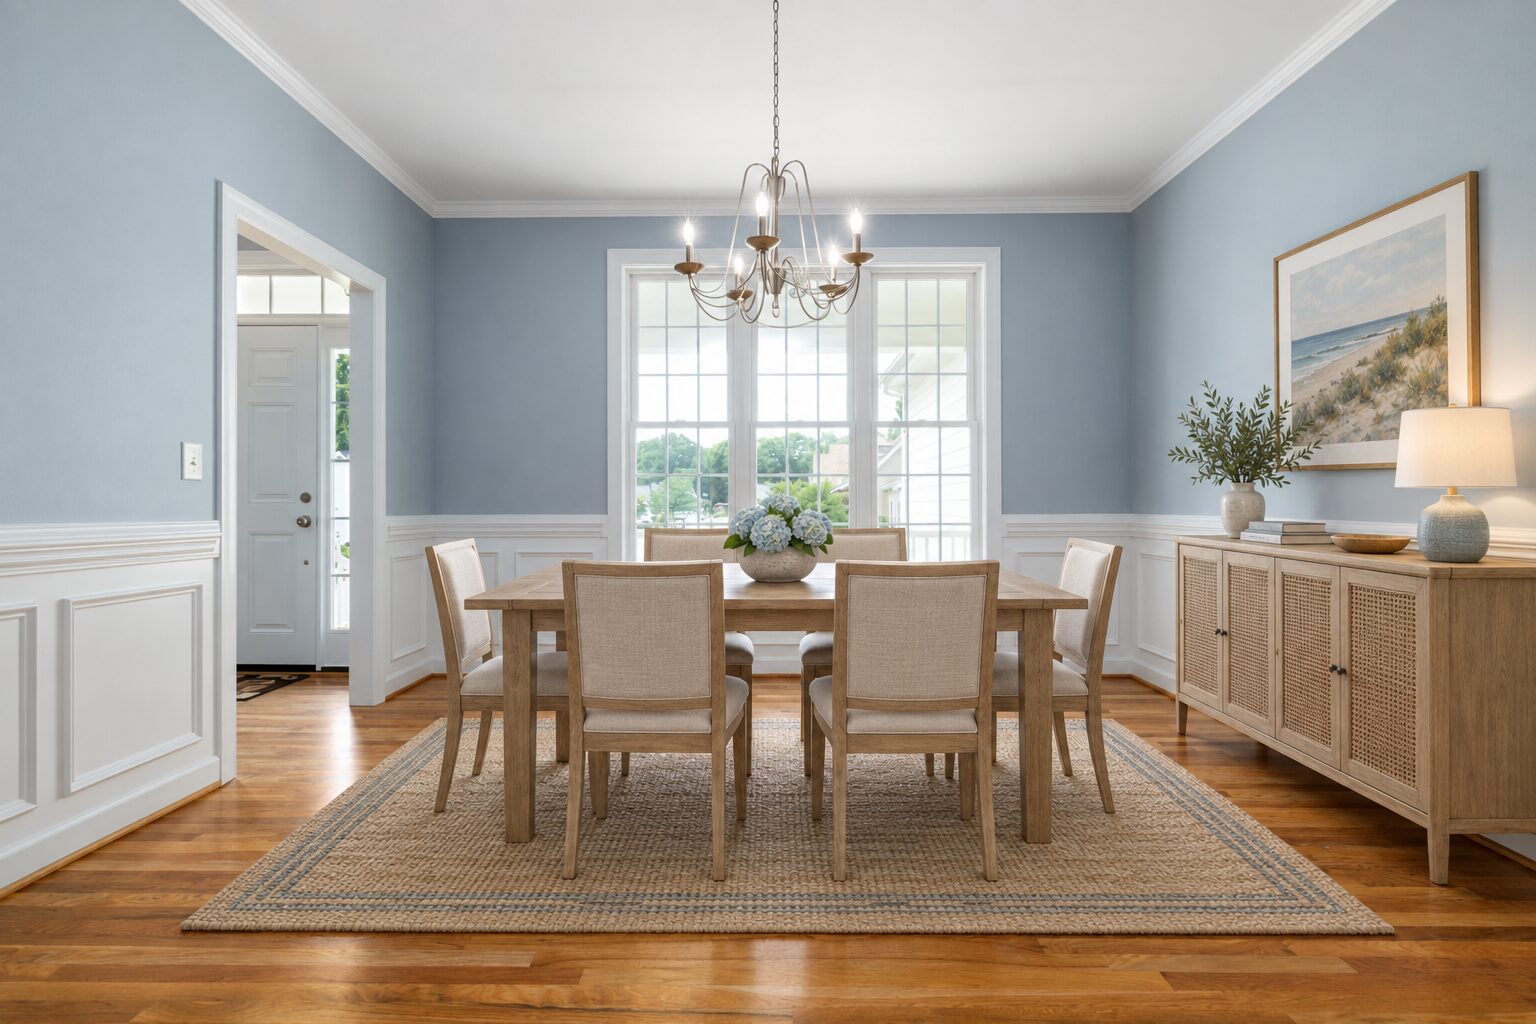
All 12 styles in all three rooms are in the staging gallery, each next to its original.
If you write your own request in another tool, name materials, not a mood. In our tests a short palette such as “pale oak, oatmeal upholstery, simple framed art” gave the same beige kit in every style. And leave out brightness words: “pale and light” pushed a shaded room brighter than the photo.
3. Make several renders and choose
Make at least two renders of the photo you care about and pick one. In our lab, good-looking furniture came back reliably, and a good layout did not. Our review of the bedroom runs ends: “convincing furniture is repeatable, but acceptable clearance and orientation are not.” One render puts the bed on the solid wall; the next turns it to block the window. More pieces also made rooms worse, not better: nightstands across doors, chairs in entrances, TVs in odd places.
Choose next to the original, never on the render alone. Open both at the same size and flick between them. Check that the frame did not move, that every door, window, vent and outlet is still there, that the walls and floor kept their colour, and that the room through the doorway kept its walls, floor, doors and windows (Duskly may add a few pieces of furniture there in the same style). Our guide to bad virtual staging walks through 10 checks, each on a real render that failed one.
If none passes, run it again. Do not fix a render by painting over it: that makes a third picture that is neither the photo nor the render.
Doing it with a general AI image tool
A general AI image app can stage a room, and the furniture often looks good. What goes wrong is the room. In our September tests, models we tried invented radiators and a door, narrowed a doorway, reframed the view, and washed the whole room in orange light. Every one of those can look fine until you compare. Three things helped in our prompts:
- Say what to keep before what to add. Our templates state the preservation clause first, because early words carry more weight: same camera, framing, walls, paint, floor, doors, windows and the view through them, outlets and fixtures.
- Ask for movable furniture only, with contact shadows from the new pieces and no change to the light.
- Do not trust an instruction to leave the next room alone. Four of our longer requests furnished the room beyond the doorway even though they said “Keep adjoining rooms unchanged”. Check it every time.
Whatever made the render, the checks in step 3 and the rules in steps 4 and 5 are the same.
4. Disclose it and keep the original
A staged photo counts as altered, and so does one made with AI. San Diego MLS answers the AI question directly:
Yes. Images created or modified using artificial intelligence, including AI virtual staging, are considered digitally altered and must be disclosed and accompanied by the original image.
Source: SDMLS AB 723 FAQ, answer 8. The same FAQ says “Labeling alone is not sufficient” and that “AB 723 requires that consumers be able to view the original, unaltered image in addition to the digitally altered version” (answer 7).
So keep the original file, untouched, for every photo you stage. You need it for the listing and so buyers can see it, which is what answer 7 says AB 723 requires. Our AB 723 guide covers the link or QR code. Where the label goes differs by MLS: our label guide has each MLS’s rule. Is virtual staging legal? covers what staging may not do and the fines. The free disclosure generator writes the wording.
5. What to put in the listing
Put the original next to the staged photo. Most rules we read want the pair together in the photo order, and the side differs. CRMLS: “the original, unaltered version must appear in the listing immediately before or after the digitally enhanced image” (CRMLS digitally altered image guidance, Rule 11.5.2, page updated 20 October 2026). Bay East wants the original “displayed immediately after the digitally altered image” (Bay East Rule 11.5.2). San Diego MLS asks you to “place it adjacent to the altered image within the photo sequence” (FAQ answer 6). If your MLS lets you choose, original right after the staged photo meets all three.
Label the staged photo, in the place your MLS asks, with words such as “Virtually staged”.
Stage one angle per room. Each photo is staged on its own, so two staged angles of the same room show two different sets of furniture. Stage the best angle and leave the others as photographed.
Stage a room as what it is. A bedroom staged as an office hides how it is listed, and buyers notice. NWMLS: “If your listing states there are three bedrooms and two bathrooms: show them.”
How Duskly helps
Upload the empty room, pick a room type and one of 12 styles, and Duskly runs two renders side by side. Before you see one, it is checked against your photo for framing, the room’s edges, blocked doors and windows, a moved kitchen island and extreme exposure, and thrown out if it fails; the thresholds are listed at the end of our bad virtual staging guide. If both are rejected, Duskly runs another, up to three attempts in all. When both pass, you get two takes to choose from. These checks do not look at wall paint, flooring, vents, furniture scale or the room through a doorway, so still compare the render with the original yourself. Staging is for empty rooms: empty a furnished one with Occupied to vacant first, and disclose that too. Every paid render comes with the untouched original and disclosure wording. Stage a room.
How we made this: the staged photos are renders from Duskly’s staging pipeline made on 19 September 2026, all of which passed Duskly’s framing and edge checks of the time (the six shown matched the room’s edges at 0.66 to 0.82, against 0.40 to pass). They are shown as the model returned them, apart from conversion to JPEG; the originals were resized to the renders’ width. The wall colour was measured on 24 October 2026. Input tips come from our lab notes of September and October 2026 and from the prompt and upload code Duskly runs today. Photos by Alexander F Ungerer (office) and Curtis Adams (dining room) via Pexels. Every rule quoted was re-read at its source on 24 October 2026. Rules change; if one of these has, tell us and we will correct the page. This is a reading of published rules, not legal advice.